


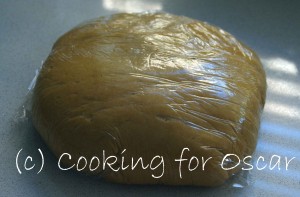
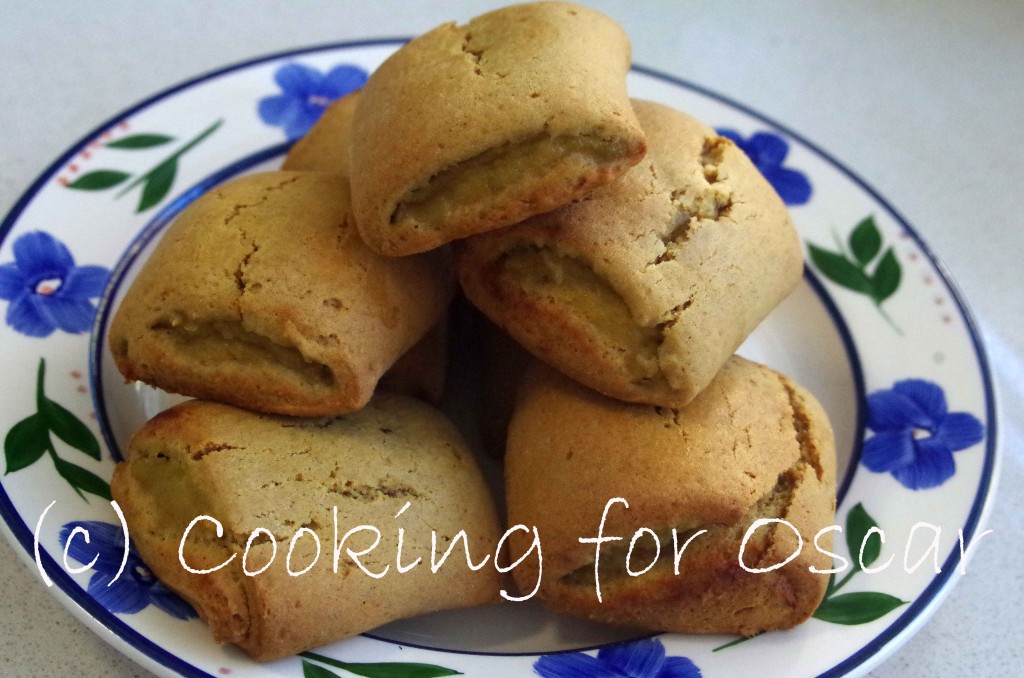
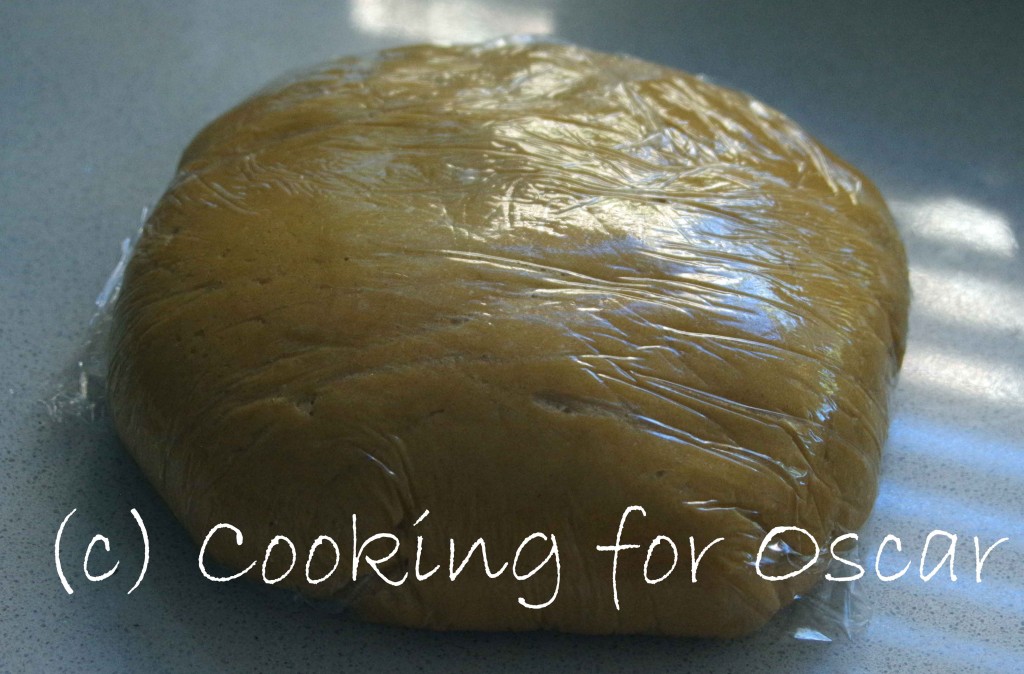
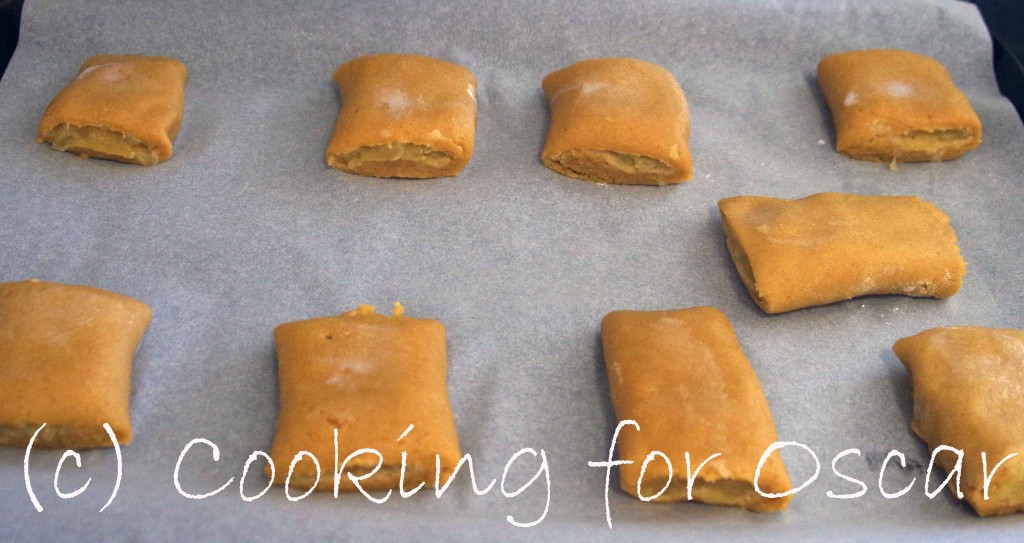
School is back, so it’s time to do some more baking for the lunch box. Oscar adores these biscuits – “Pillow Biscuits” as he calls them. They are also one of the best lunch box snacks for freezing and dropping into the lunch box in the morning. There are a lot of recipes for these around, and you can make the filling out of almost anything (see Real Meals for a custard version). The pastry I use for these is based on a recipe from The $120 Food Challenge.
Fruit Pillows
 Print recipe
| Serves | 18 |
| Prep time | 2 hours, 30 minutes |
| Cook time | 20 minutes |
| Total time | 2 hours, 50 minutes |
| Allergy / Intolerance | Amines, Artificial Addititives, Artificial Colours, Dairy, Egg, Glutamates, Preservatives, Salicylates, Wheat |
| Suitable for | RPAH Elimination Diet - Low Chemical / Failsafe, RPAH Elimination Diet - Moderate Chemical, Salicylate Challenge |
| Meal type | Lunch Box, Sweet Things |
| Misc | Pre-preparable, Serve Cold |
Ingredients
For the pastry:
- 100g butter (softened)
- 30ml sour cream
- 2 teaspoons baking powder (Refer to note)
- 1/2 teaspoon bicarbonate of soda
- 75g brown sugar
- 2 eggs
- 1 teaspoon vanilla extract (Refer to note)
- 200g spelt flour
- 100g rye flour
- 1/2 teaspoon salt
For the pastry: (Optional)
- 1/4 teaspoon cinnamon (if moderate salicylates are tolerated)
Filling options:
- 2 1/2 cups pureed pear (excess liquid drained out)
- 2 1/2 cups stewed Golden or Red Delicious apple (cooled)
To prepare:
- Extra flour (for rolling)
- Water (for brushing)
- Milk (for brushing)
Directions


Note
Low Chemical / FAILSAFE, moderate salicylates
Use the pear filling for a low chemical version, or the apple filling if moderate salicylates are tolerated. Include the cinnamon in the pastry if moderate salicylates are tolerated.
I make my own baking powder and vanilla extract.
The quicker you work the colder the dough will be when it goes into the oven. Warmer dough results in cracks in the cooked biscuit.